
How To Install Microsoft Teams PowerShell Module
Microsoft decommissioned Skype For Business Online and introduced Microsoft Teams in early 2021. Like every service in Microsoft 365, Microsoft Teams has its own dedicated module.
In this article, I will explain how to install Microsoft Teams PowerShell module on versions PS 5.1 and PS 7, and also on a client machine such as Windows and Mac.
Requirements
In order to install, it requires
- Microsoft .NET 4.7.2 or later
- PowerShell (PS) 5.1 or later
- PowerShellGet
- If you have any other modules from Microsoft 365 / Office 365 services such as a module for Exchange Online or SharePoint Online then you might already have the PowerShellGet installed.
- If not use the below command to install it.
Install-Module -Name PowerShellGet -Force -AllowClobber- Internet Connection (lol)
If you have Windows 10 or Windows 11, you have already covered with .NET 4.7.2 and PowerShell 5.1. On a Mac OS, you need a PS 7 version.
How to Install Microsoft Teams on PowerShell 5.1?
The current version of PS 5 is 5.1
You can confirm the version that you have on your Windows OS by running the following cmdlet
$PSVersionTable
On a Windows OS
Once you make sure you have 5.1 PS, then we can install the Microsoft Teams module. In order to install it, open the PowerShell in RunAs admin mode
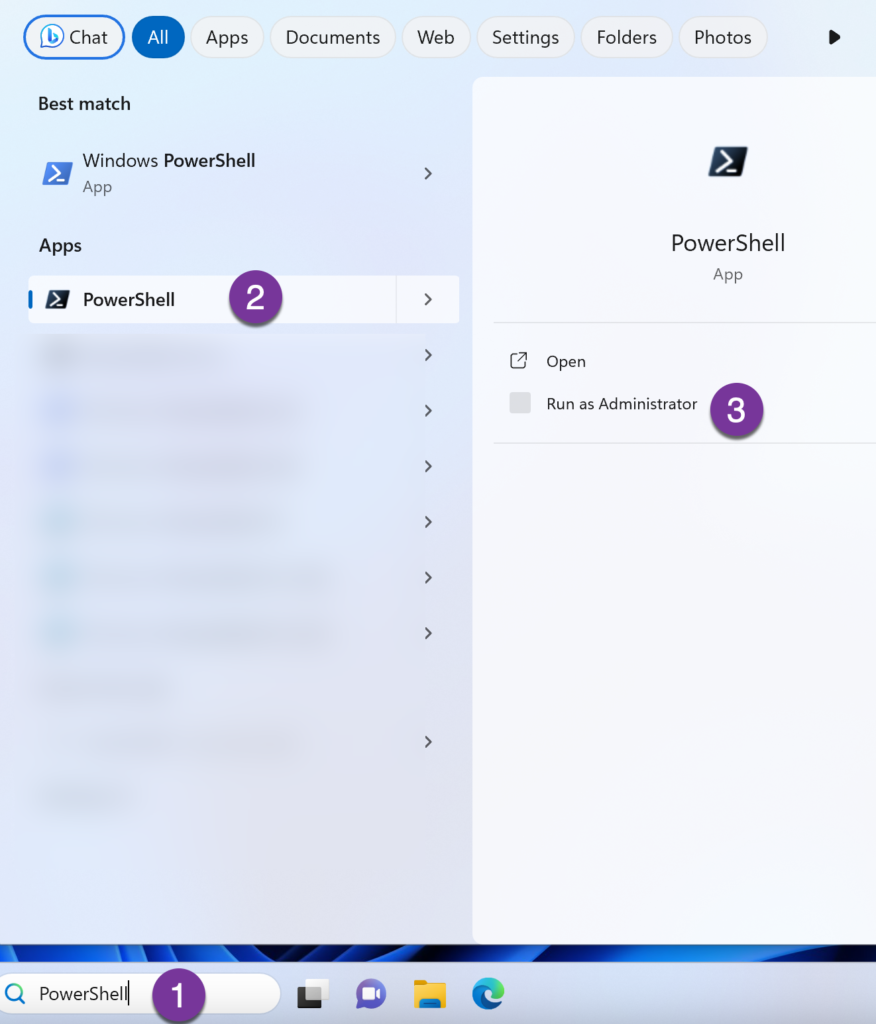
- Go to the Search section
- Type PowerShell
- Select it and click on Run as Administrator

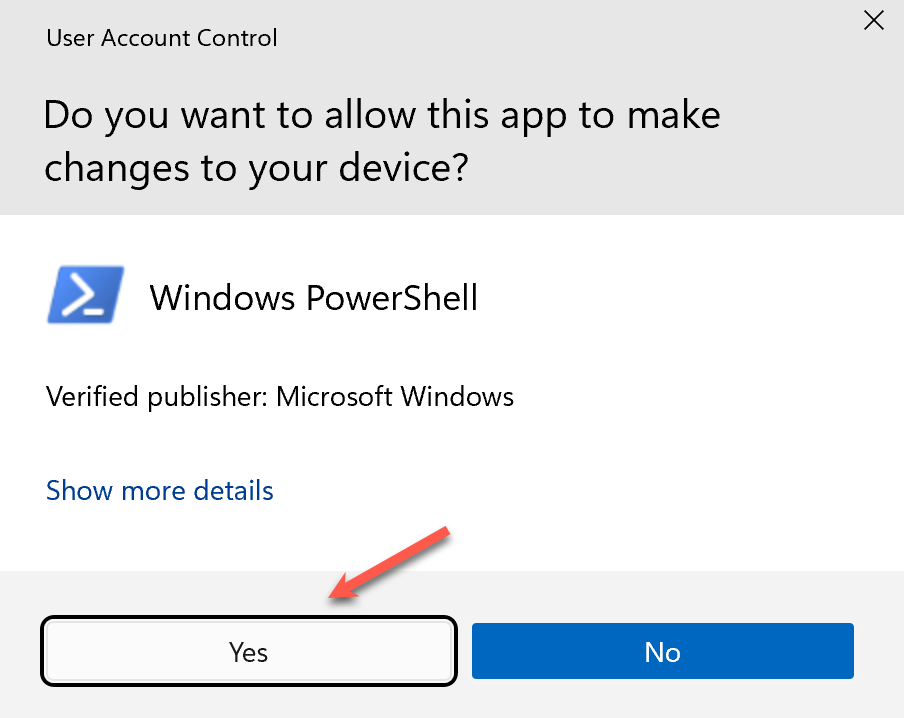
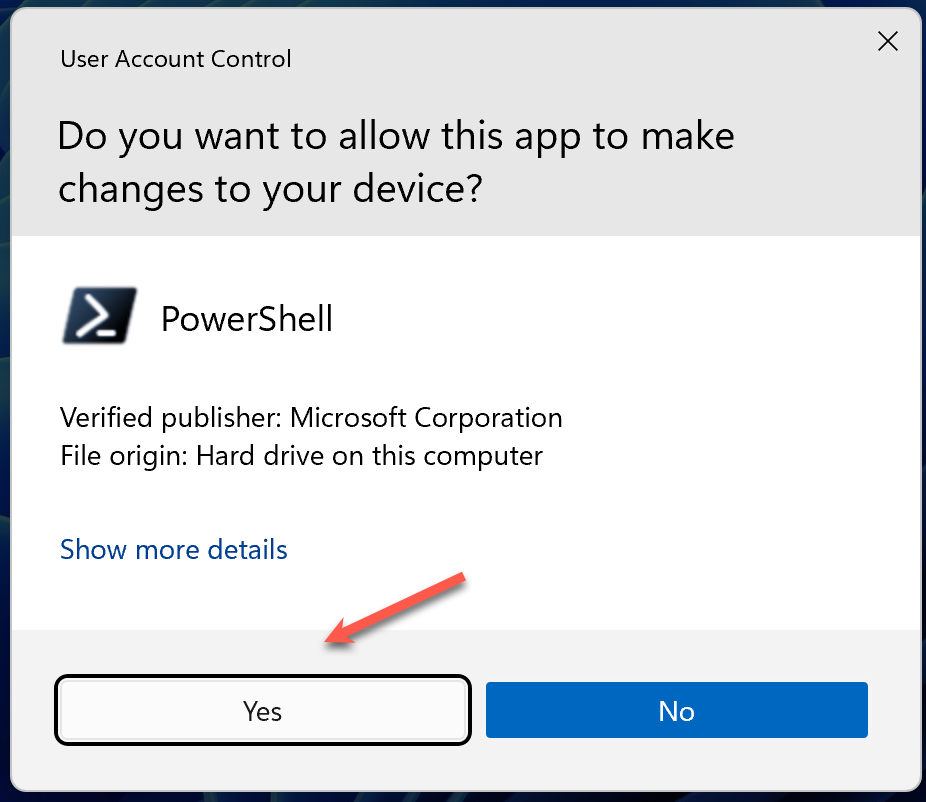
You will get the User Account Control pop-up.
Click Yes to Continue
Type the following Install-Module cmdlet
Install-Module -Name MicrosoftTeams -Force -AllowClobberAllowClobber parameter switch is added to overwrite any similar commands that are getting installed. We are combining the Force parameter switch along with AllowClobber.

Now the installation is completed successfully.
On a Mac OS
There is no PowerShell 5.1 version available for Mac OS. I will cover the installation steps for Mac OS with PS 7 in the next section.
How to Install Microsoft Teams Module on PowerShell 7?
The latest version for PS is PS 7. If you have not tried it yet, I highly encourage you to do so.
You can check this installation of the PS 7 article for the detailed steps.
You can confirm the version with the following command
$PSVersionTable
On a Windows OS
You can have both PowerShell 5 and 7 simultaneously on your machine.
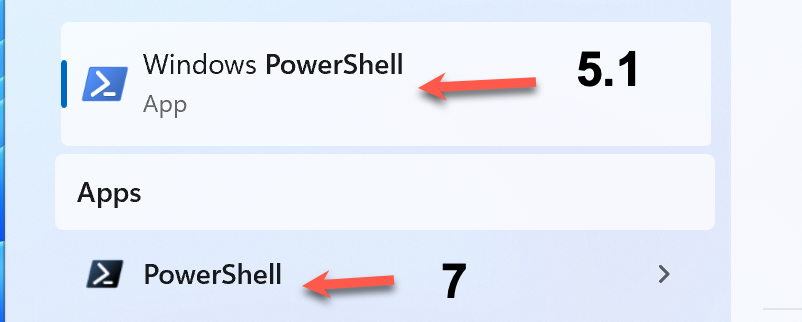
This is because the upgradation from 5.1 to 7 is not an in-place upgrade. So a dedicated app will be installed during the version 7 installation.
Now in order to install the Microsoft Teams module on PS 7,
- Go to the Search section
- Enter PowerShell
- Open the PS 7 ( remember the color difference) with Run As Administrator mode
The user Access Control window will pop up. Click Yes to continue
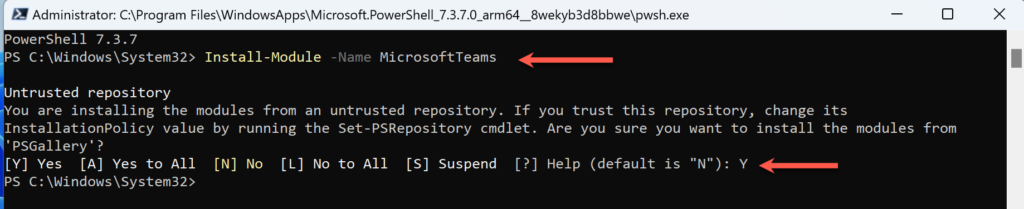
Type the following Install-Module cmdlet
Install-Module -Name MicrosoftTeamsIf you use the PowerShell Gallery / PSGallery repository for the first time in your installation, you will get an Untrusted repository warning. Do not worry. You can safely proceed by entering Y
On a Mac OS
Mac OS supports only PS 7. In order to install,
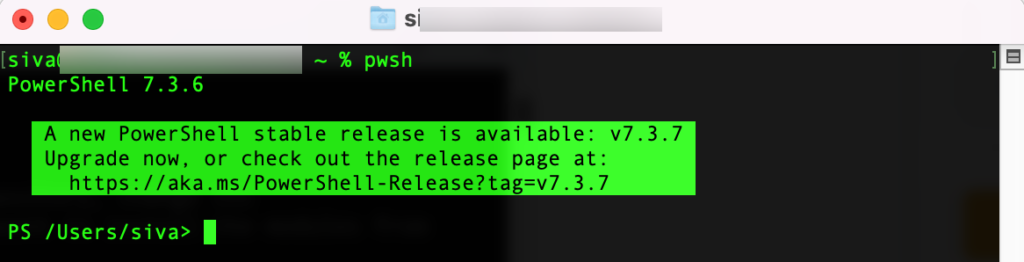
- Open Terminal
- Type the following command
pwsh- The Terminal will import the PowerShell 7
Now enter the following Cmdlet
Install-Module -Name MicrosoftTeams -Force -AllowClobber
If you want to confirm the installation, you can run the following command to check the same
Get-InstalledModule *team*
Connect to Microsoft Teams using PowerShell
Make sure you have admin rights to log in to the tenant. Keep the admin credentials handy to enter into the login page.
Connecting to Microsoft Teams has the same command for Windows and Mac OS. Also, it’s the same for PowerShell 5.1 and 7.
The only difference is
- 7 has a browser-based authentication
- 5.1 supports modern-based authentication.
I will show the difference between both the authentications.
When you are on 5.1 version, if you enter the following Cmdlet
Connect-MicrosoftTeamsIt will bring the modern authentication pop up and you can enter your User Principal Name as the username and password.
If your account is Multi-Factor Authentication (MFA) enabled, then it will ask you to enter the code

Once authenticated, you will get connected to Microsoft Teams

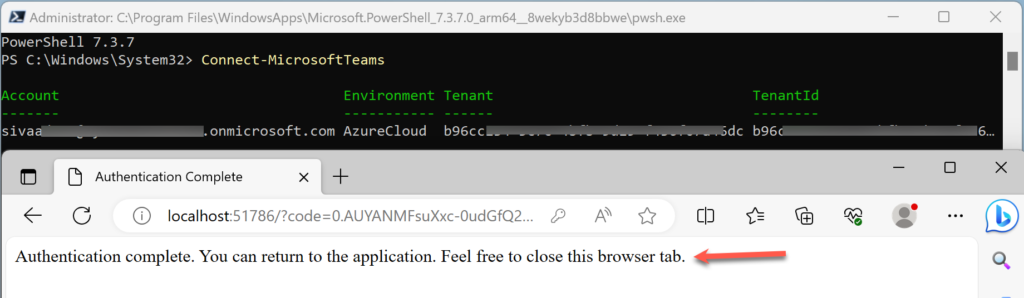
If you are going to use PowerShell 7,
Once the Connect-MicrosoftTeams Cmdlet is executed, the browser will open. After entering your credential, if MFA is enabled then it will give you an option to enter the code.
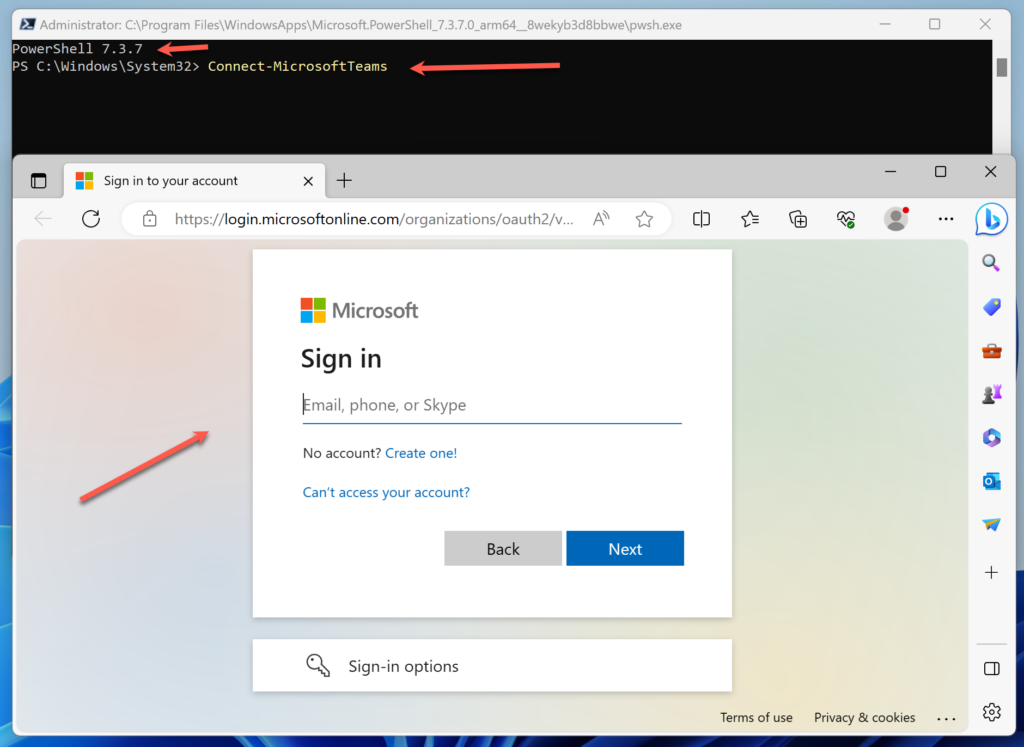
After that, it will authenticate the session and you will get the confirmation in the browser. You can safely close the browser window.
Now you are connected to Microsoft Teams, you can do any type of administrative tasks related to Teams.
Update Microsoft Teams Module
You can update to the latest version, by running the following cmdlet
Update-Module MicrosoftTeamsAlways open a fresh session to update it. If you already using Teams session and trying to update in between, it will fail. Simply close and reopen the PS will fix the issue.
Uninstall Microsoft Teams PowerShell
For some reason, if you wanted to uninstall it, you can enter the following cmdlet
Uninstall-Module MicrosoftTeamsPlease make sure it is not loaded already. If you try to uninstall when the session is already loaded, you will get the following error message

You can close and reopen the PowerShell and try the command again. It will get uninstalled successfully.
That’s it for today.
Happy learning 🙂